Van Build Series: Week 11 - Painting the Walls
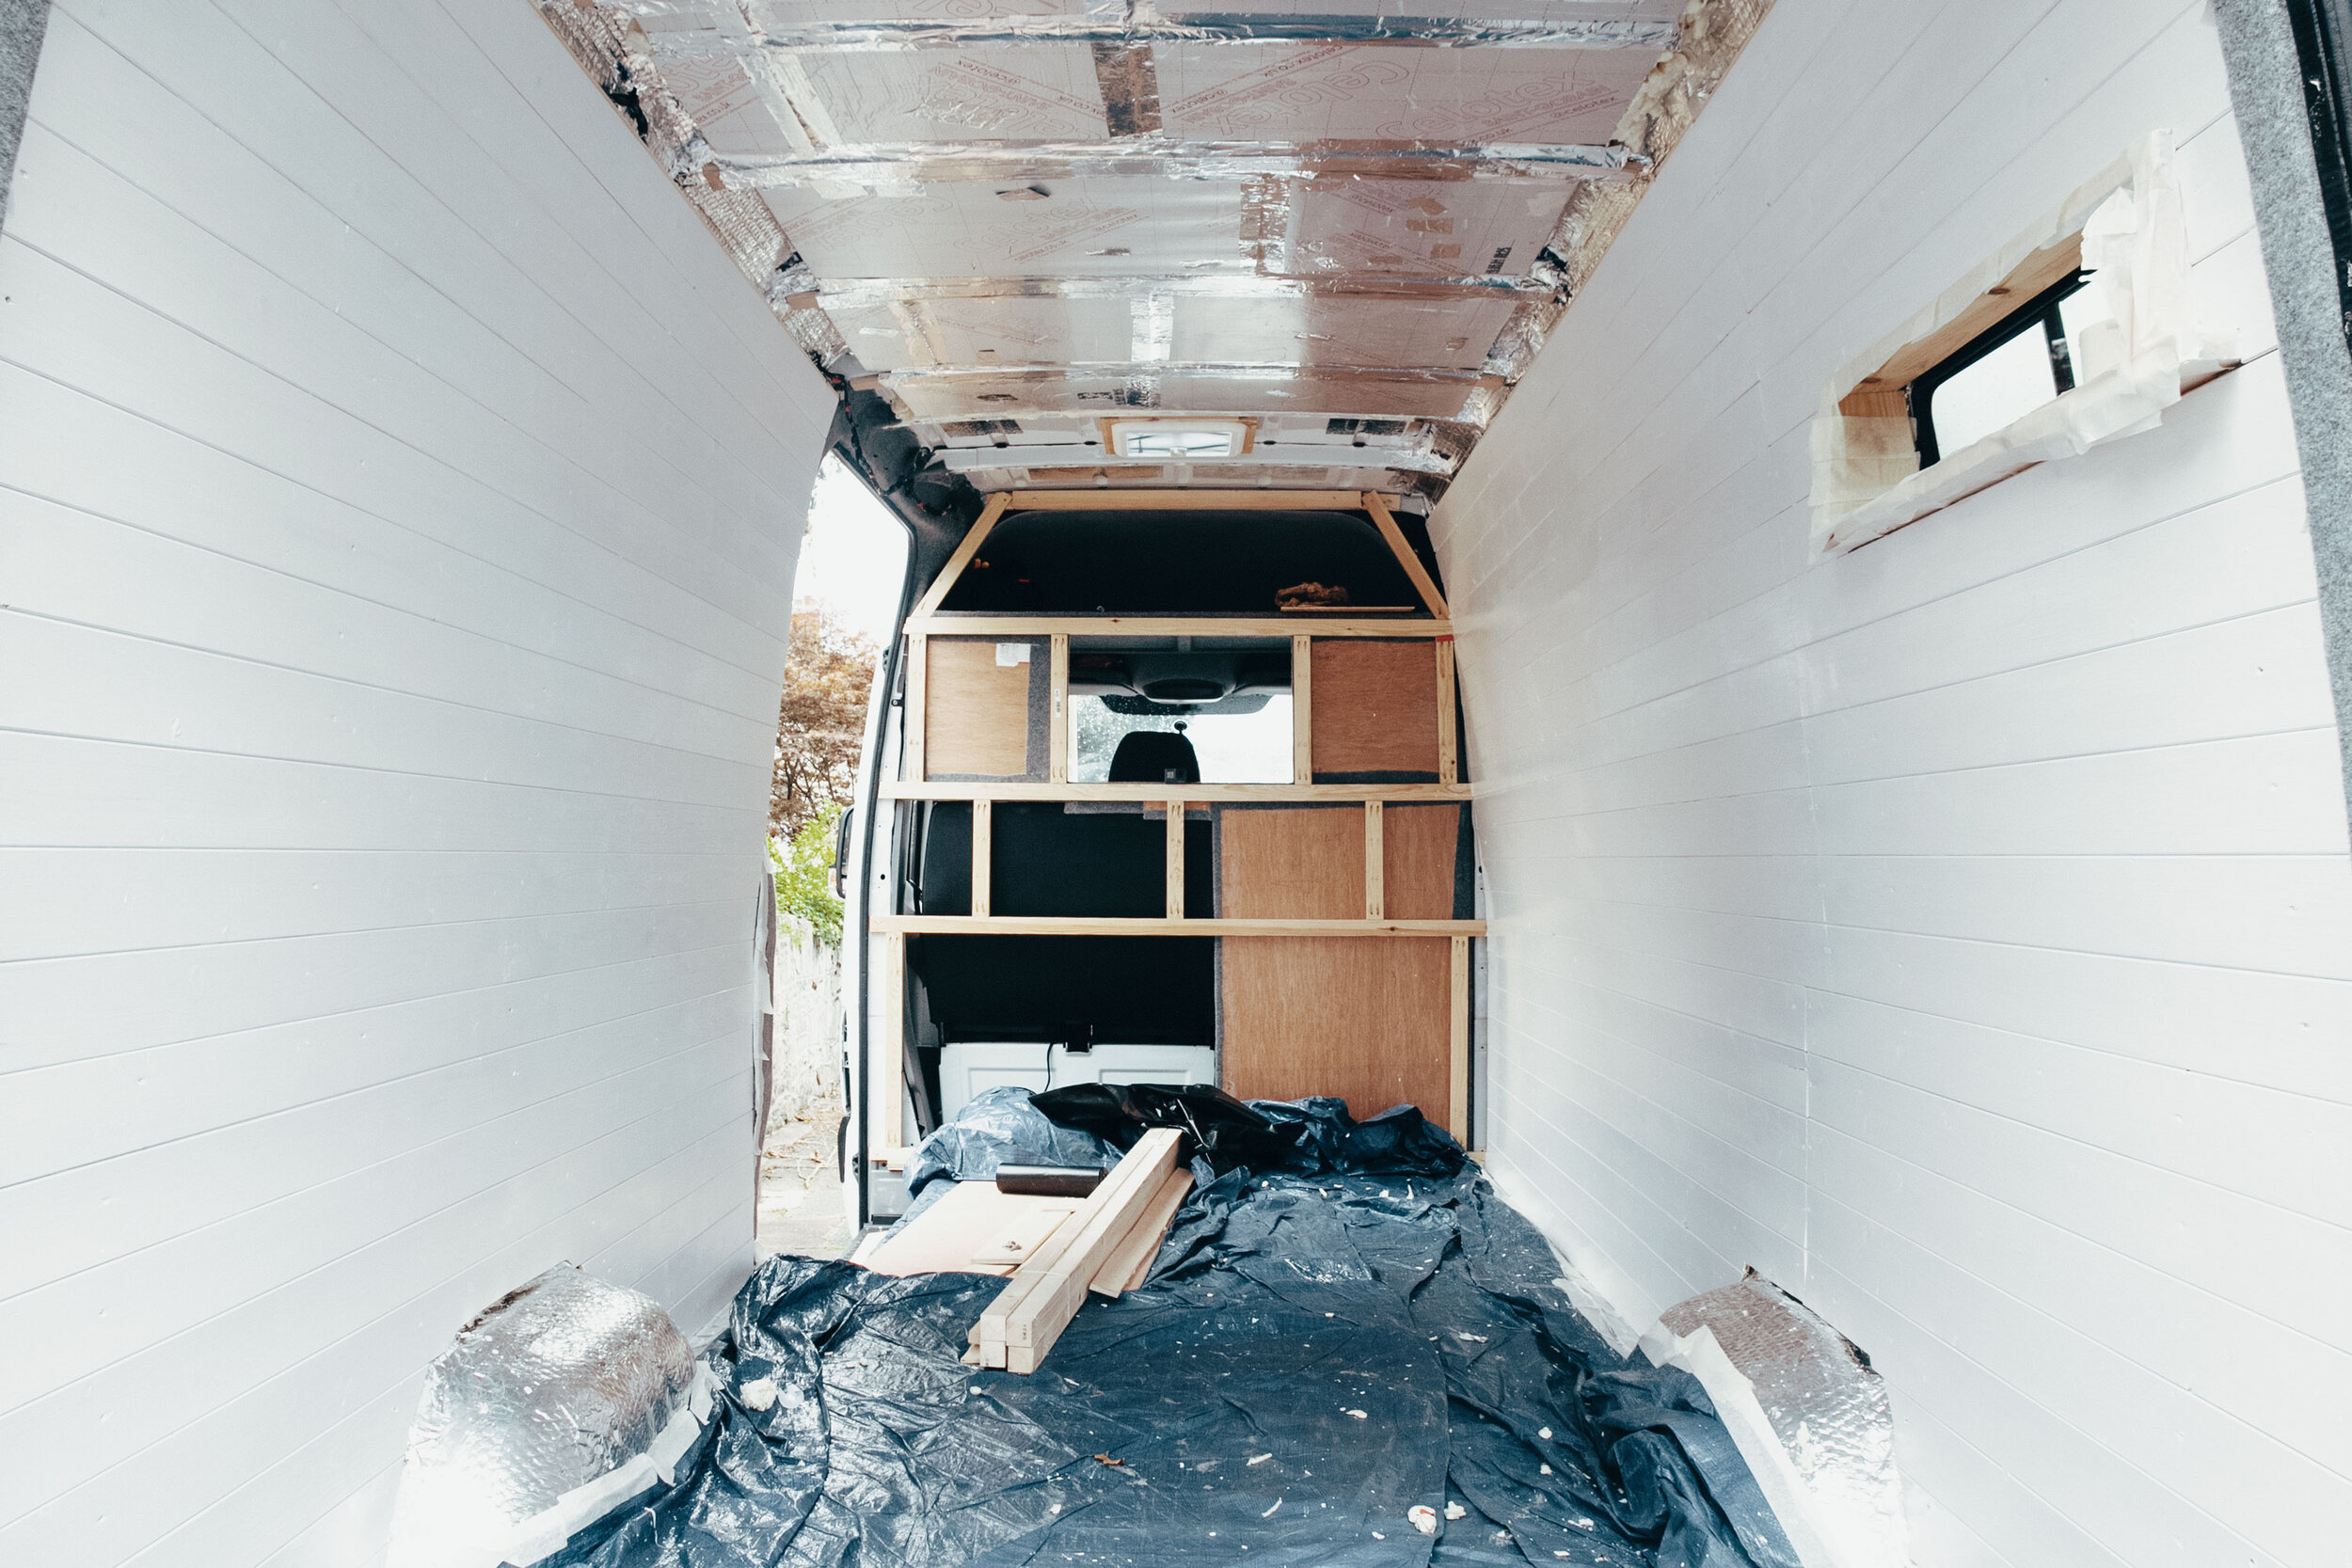
We painted the van walls over a couple of weeks, in between fitting the roof rack and installing the fan. We had decided early on that we wanted white walls, to brighten up the space as much as possible. Creating a subtle white wash effect can be difficult, but we also didn’t want a flat, emulsion paint! In the end, it took a good two days to get the walls painted and we are so happy with the result. The van looks so much brighter, and we love the contrast with our pine window frame.
What paint did we use?
After some searching, we decided to use Osmo paint from Wood Finishes Direct. Osmo is a really good paint brand that make a variety of eco-friendly wood finishes. The great thing with Wood Finishes Direct is that they let you buy samples of the paint, which we took full advantage of! In the end, we decided to go with a Wood Wax Finish Intensive in White Matte. These give a strong colour and don’t need to be top-coated with a protective oil. We did look at wood stains that had a hint of white, but these were too pale and subtle for the colour we were going for.
Painting the van
We decided to use a paintbrush to apply the paint, rather than a roller. This was to retain as much of the wood graining as we could. I didn’t sand the cladding or anything like that. Maybe I should have, but it seemed smooth enough. I gave it a wipe down to make sure it was free of dust etc, but other than that I just painted straight onto the wood. After masking taping the perimeter of the walls, it was time to paint! I started from the top and worked my way down. It was a thick paint that went a long way. We initially thought we’d use one coat, as this apparently gives a transparent finish. However, we decided after the first coat that there was too much yellow coming through. It made the walls look unfinished, we thought. So, we did another coat. This really made the walls pop and you can still see the natural grain of the wood. I think I’m going to go over some screw holes with wood filler and tidy up some knots that make it look untidy, but that’s just my perfectionist side coming out. I won’t do this until all our furniture is in, as there’s no point tidying up areas that won’t be seen!
First coat going onto the walls
Using a paintbrush to try and retain as much of the natural grain as possible
You can see the difference between the original wood and the white paint
First coat of paint done!
You might be able to see, one coat was just a little too transparent
The finished result! The white is much brighter with a second coat
I’d highly recommend both Osmo paints and Wood Finishes Direct. Wood Finishes have some great blogs too on which kind of paint to use depending on the finish you want. We’re thinking of staining the ceiling and window frame a nice natural stain, to contrast the white walls and bring back some warmth. But, decisions are still to be made on which stain…! (Watch our Rhino Roof Rack video to see us painting the van)
Products We Used:
Osmo Wood Wax Finish Intensive in White Matt - https://amzn.to/2WOKvyg*
*Amazon affiliate link


