Van Build Series: Week 2 – Rust Prevention & Sound Deadening
We were really excited to get our teeth stuck into the van conversion now. First up was some rust treatment and all the prep work to get the body ready for the insulation. Whoever had Sophia before us really took care of her, which has made our job much easier. We’re really lucky that Sophia came with very little rust. She’s a relatively new van (2012) with low mileage (53,000) and one previous owner, so she’s been kept in very good condition. Once we took the floor up, we noticed a few minor rust spots that had developed, so our first job was to treat these and any bits of exposed metal or chipped paint that might cause rust later on. We could then apply the sound deadening to the metal body of the van, reducing road noise and making her a much more peaceful ride!
Rust Prevention
1. Using wire wool, we cleaned off any flaking paint and bits of rust that had formed on the paintwork. This was mainly on the floor but we checked the walls and ceiling too. We didn’t want to remove all the rust, as that’s the job of the rust treatment we’ll be using. Scraping away at the rust too much would damage the body of the van, so we just wanted to take off any excess rust and flaking/bubbled paint. After we’d cleaned as much rust off as we could, we swept the floor and washed the van down with a mild detergent and damp sponge.
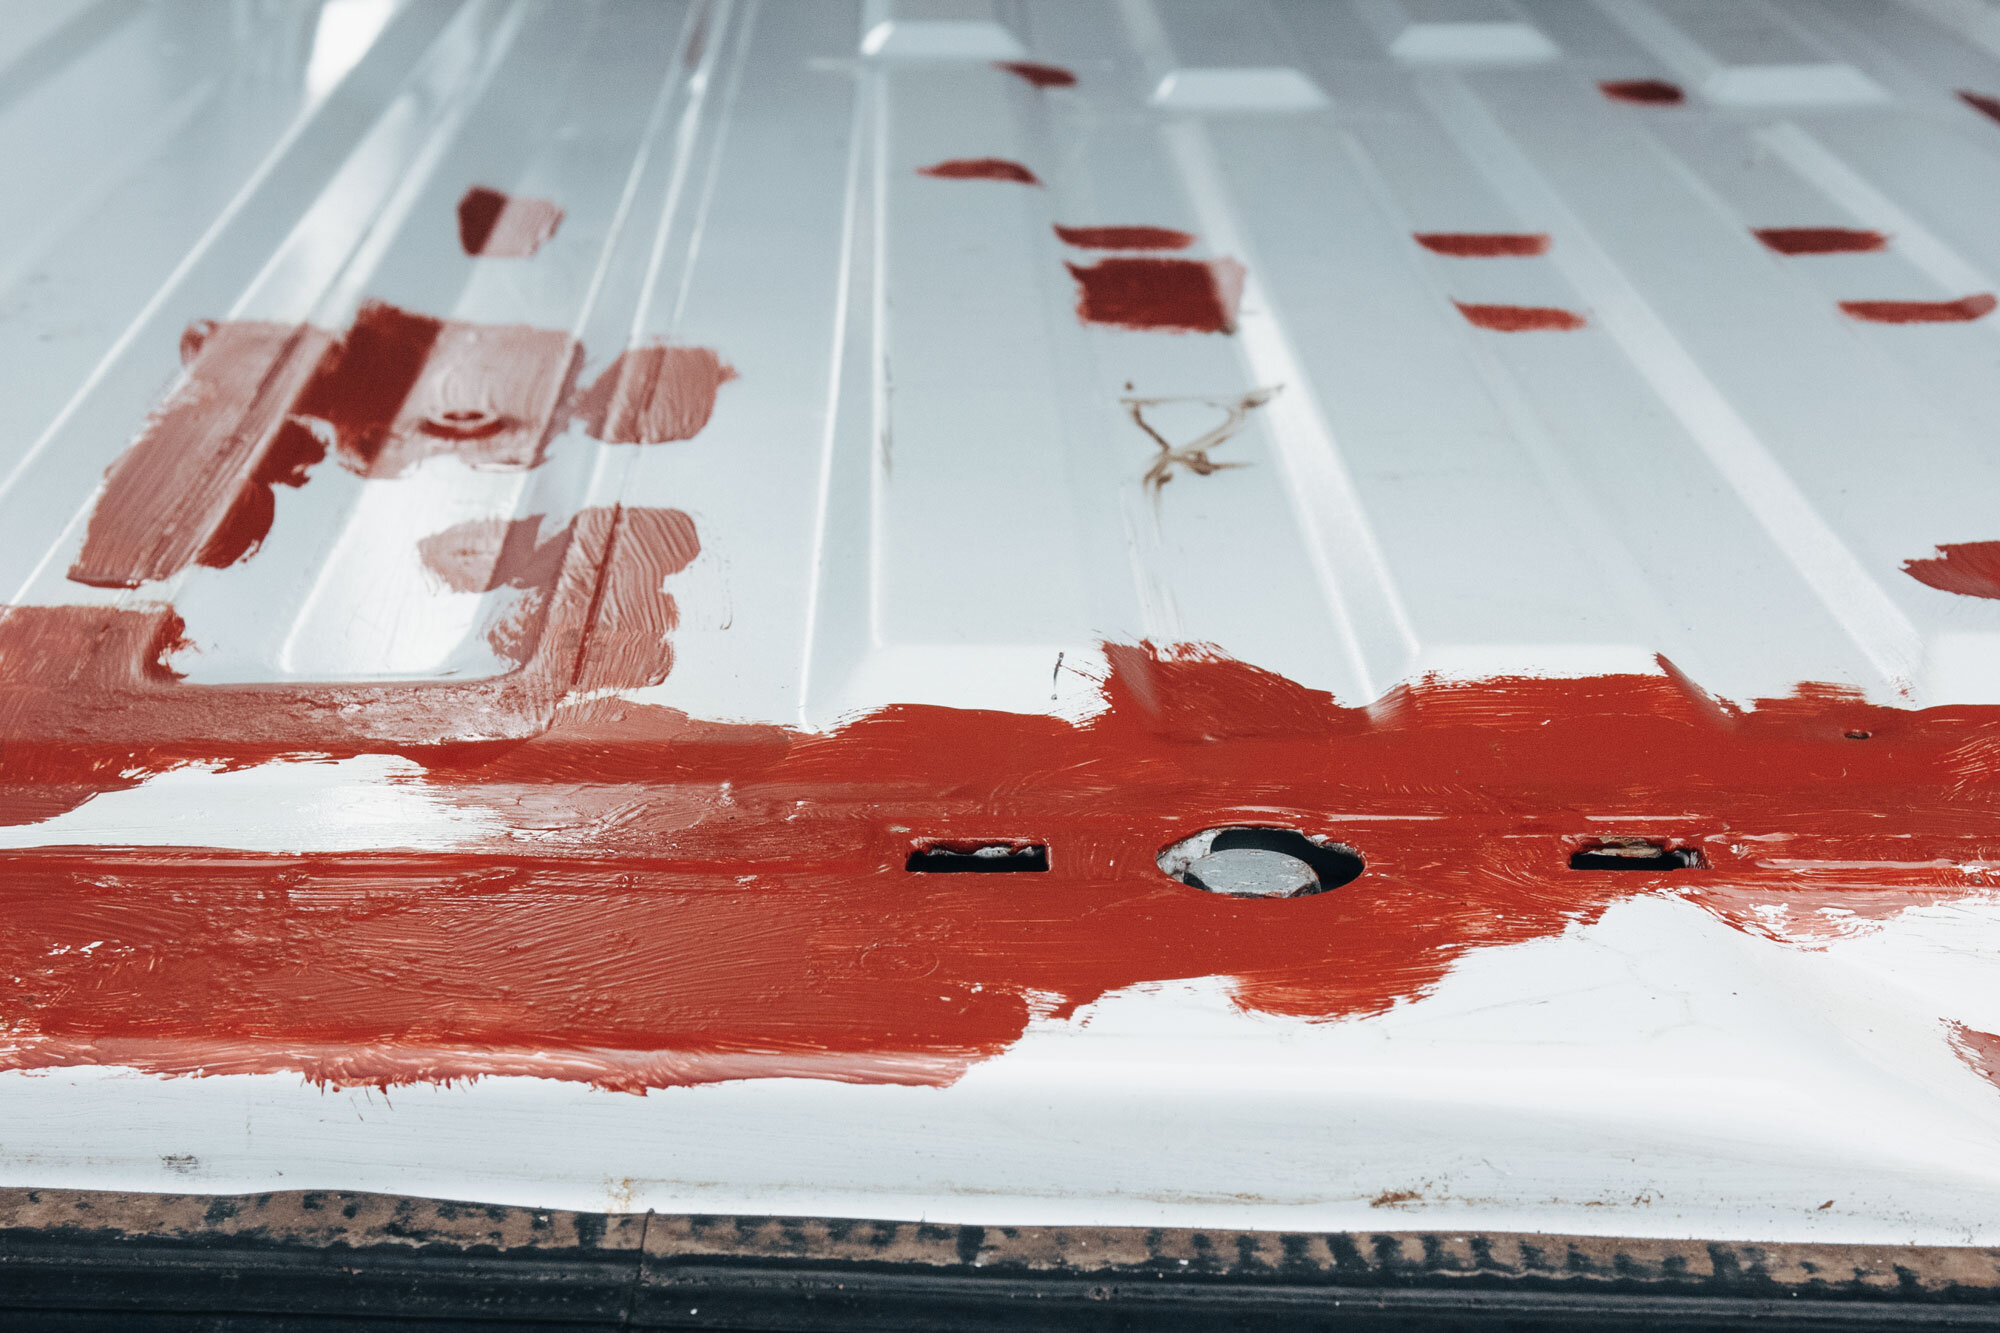
There was only one bad patch of rust on the floor that needed some smoothing down
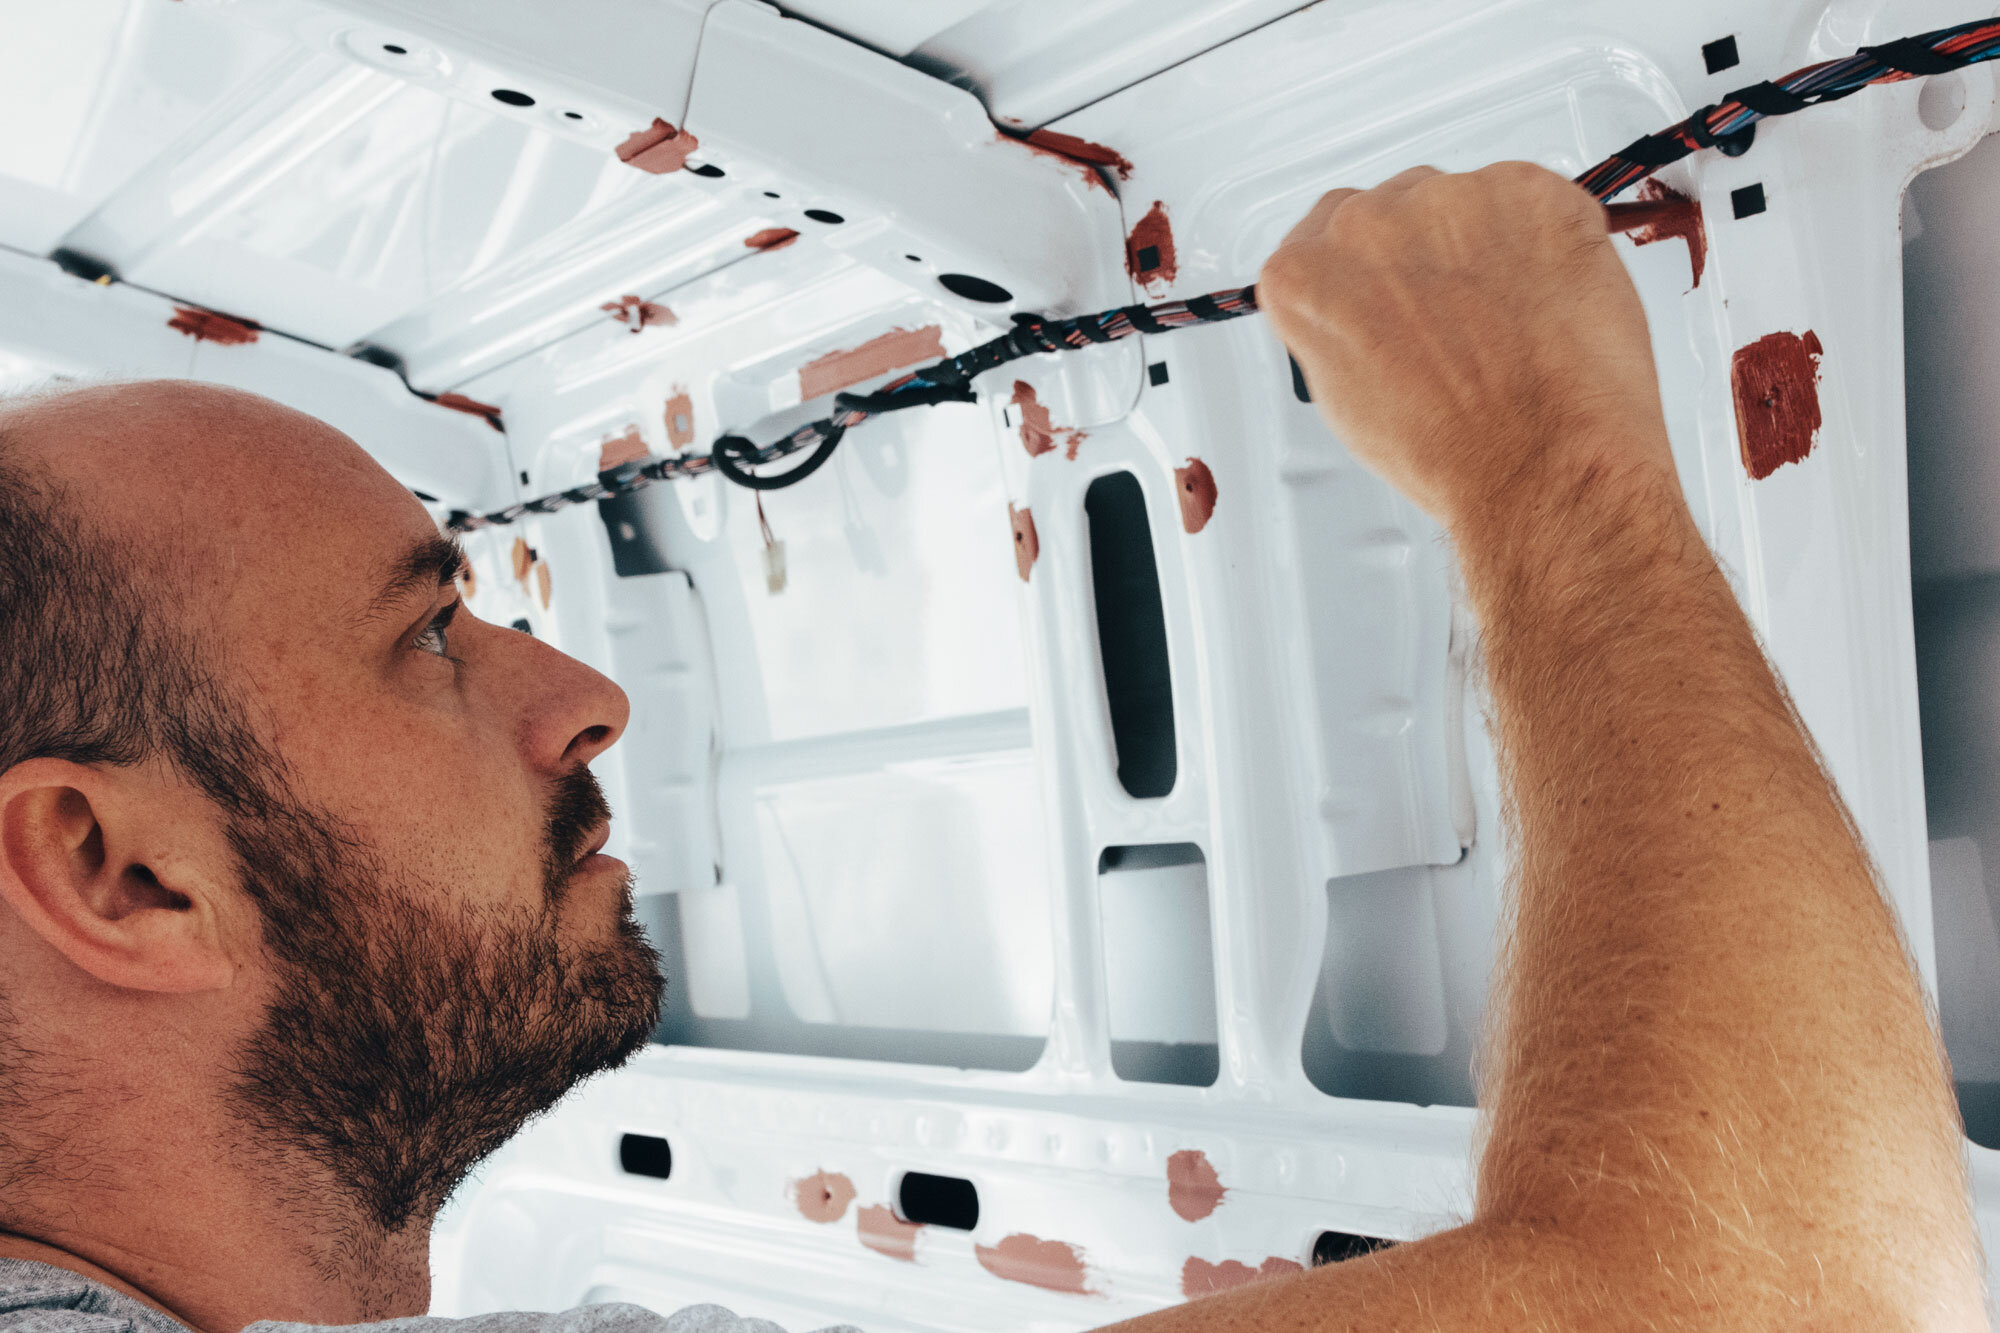
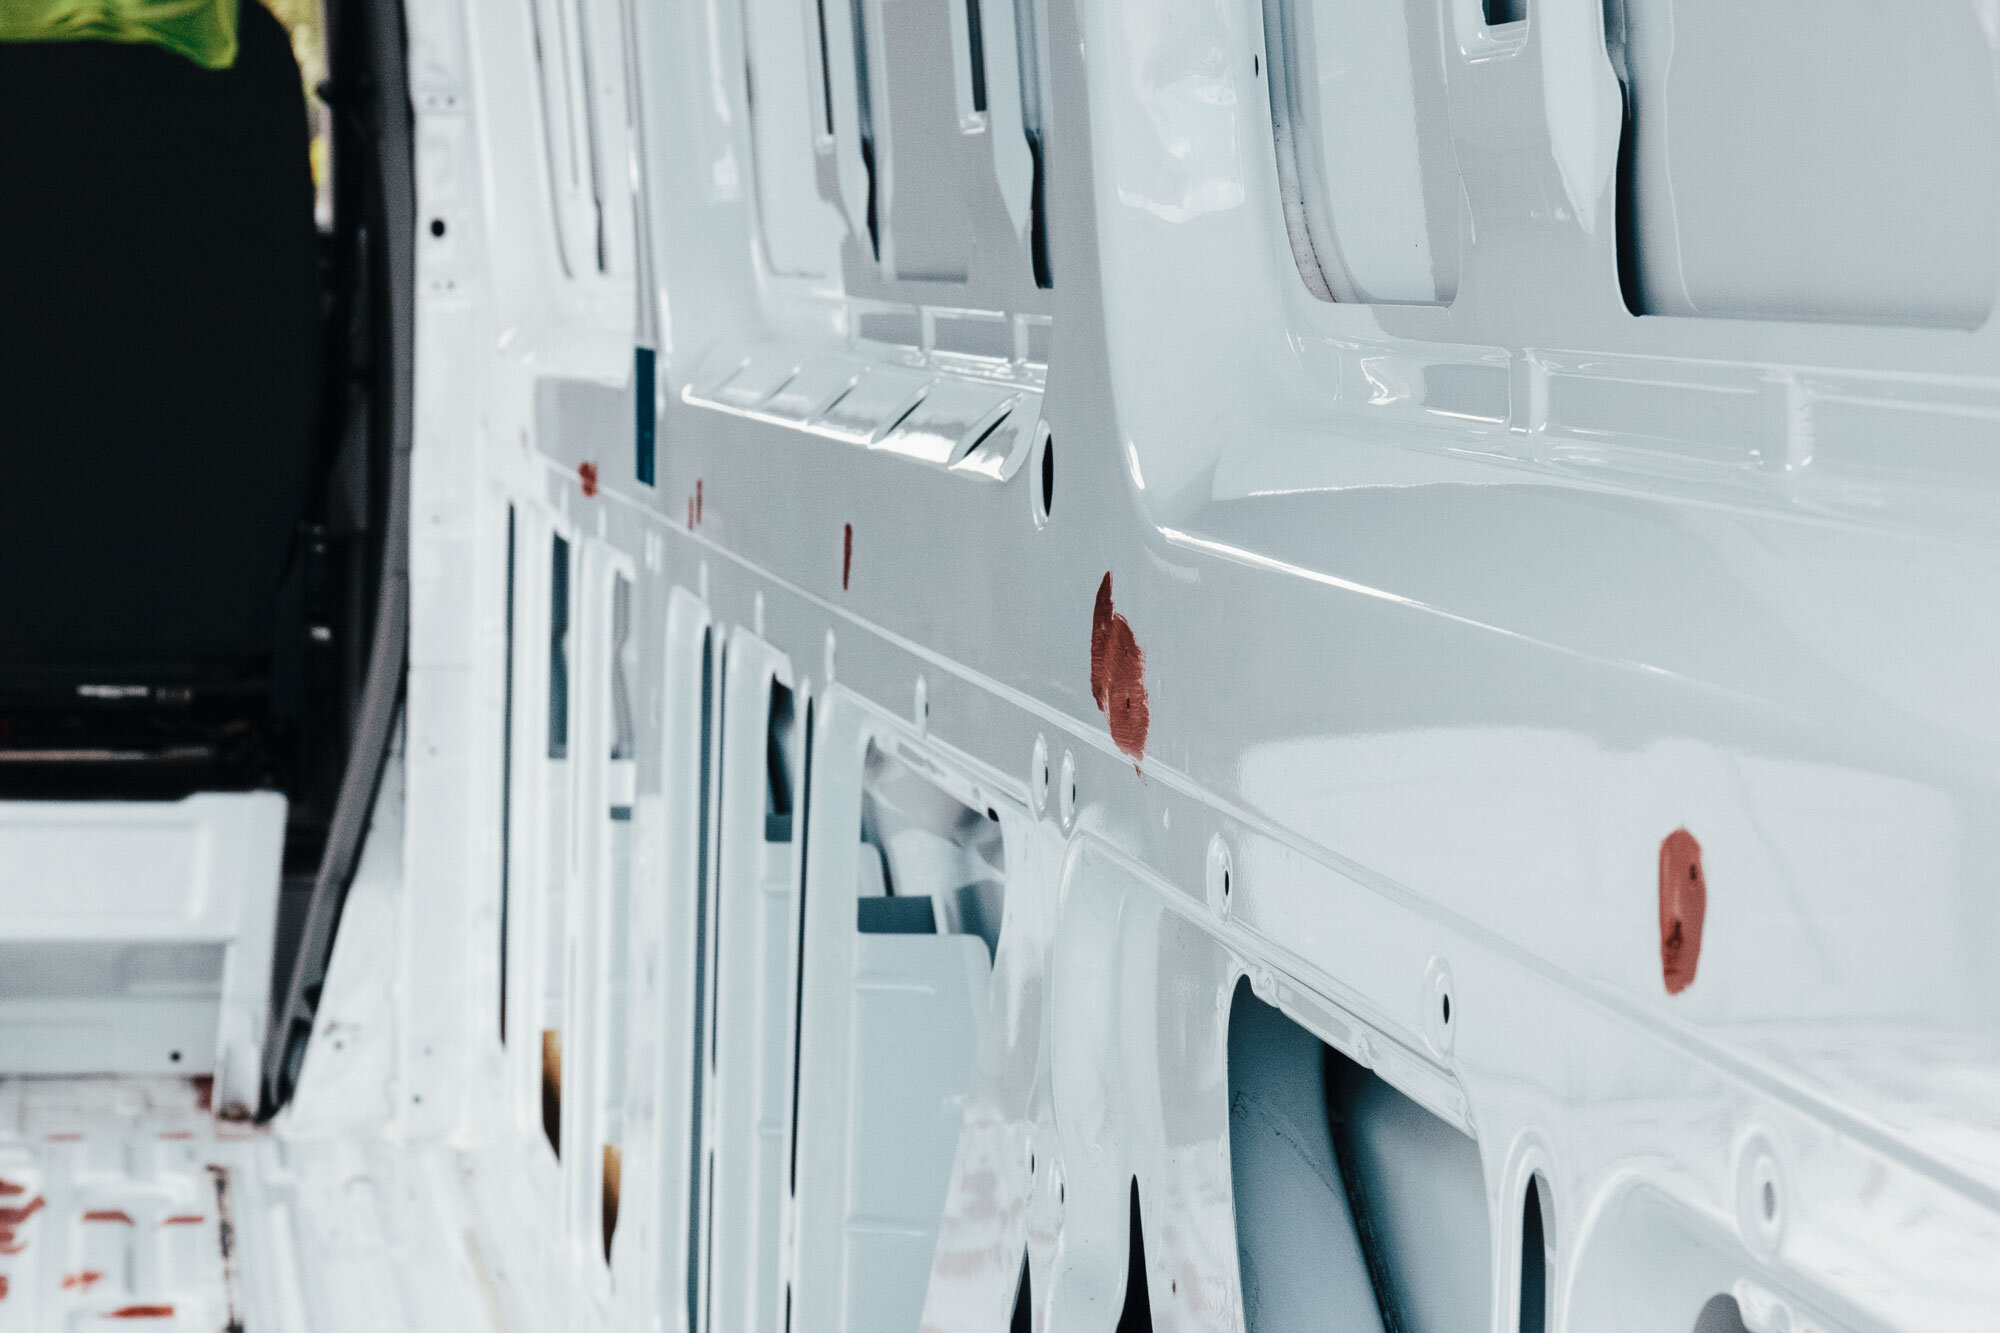
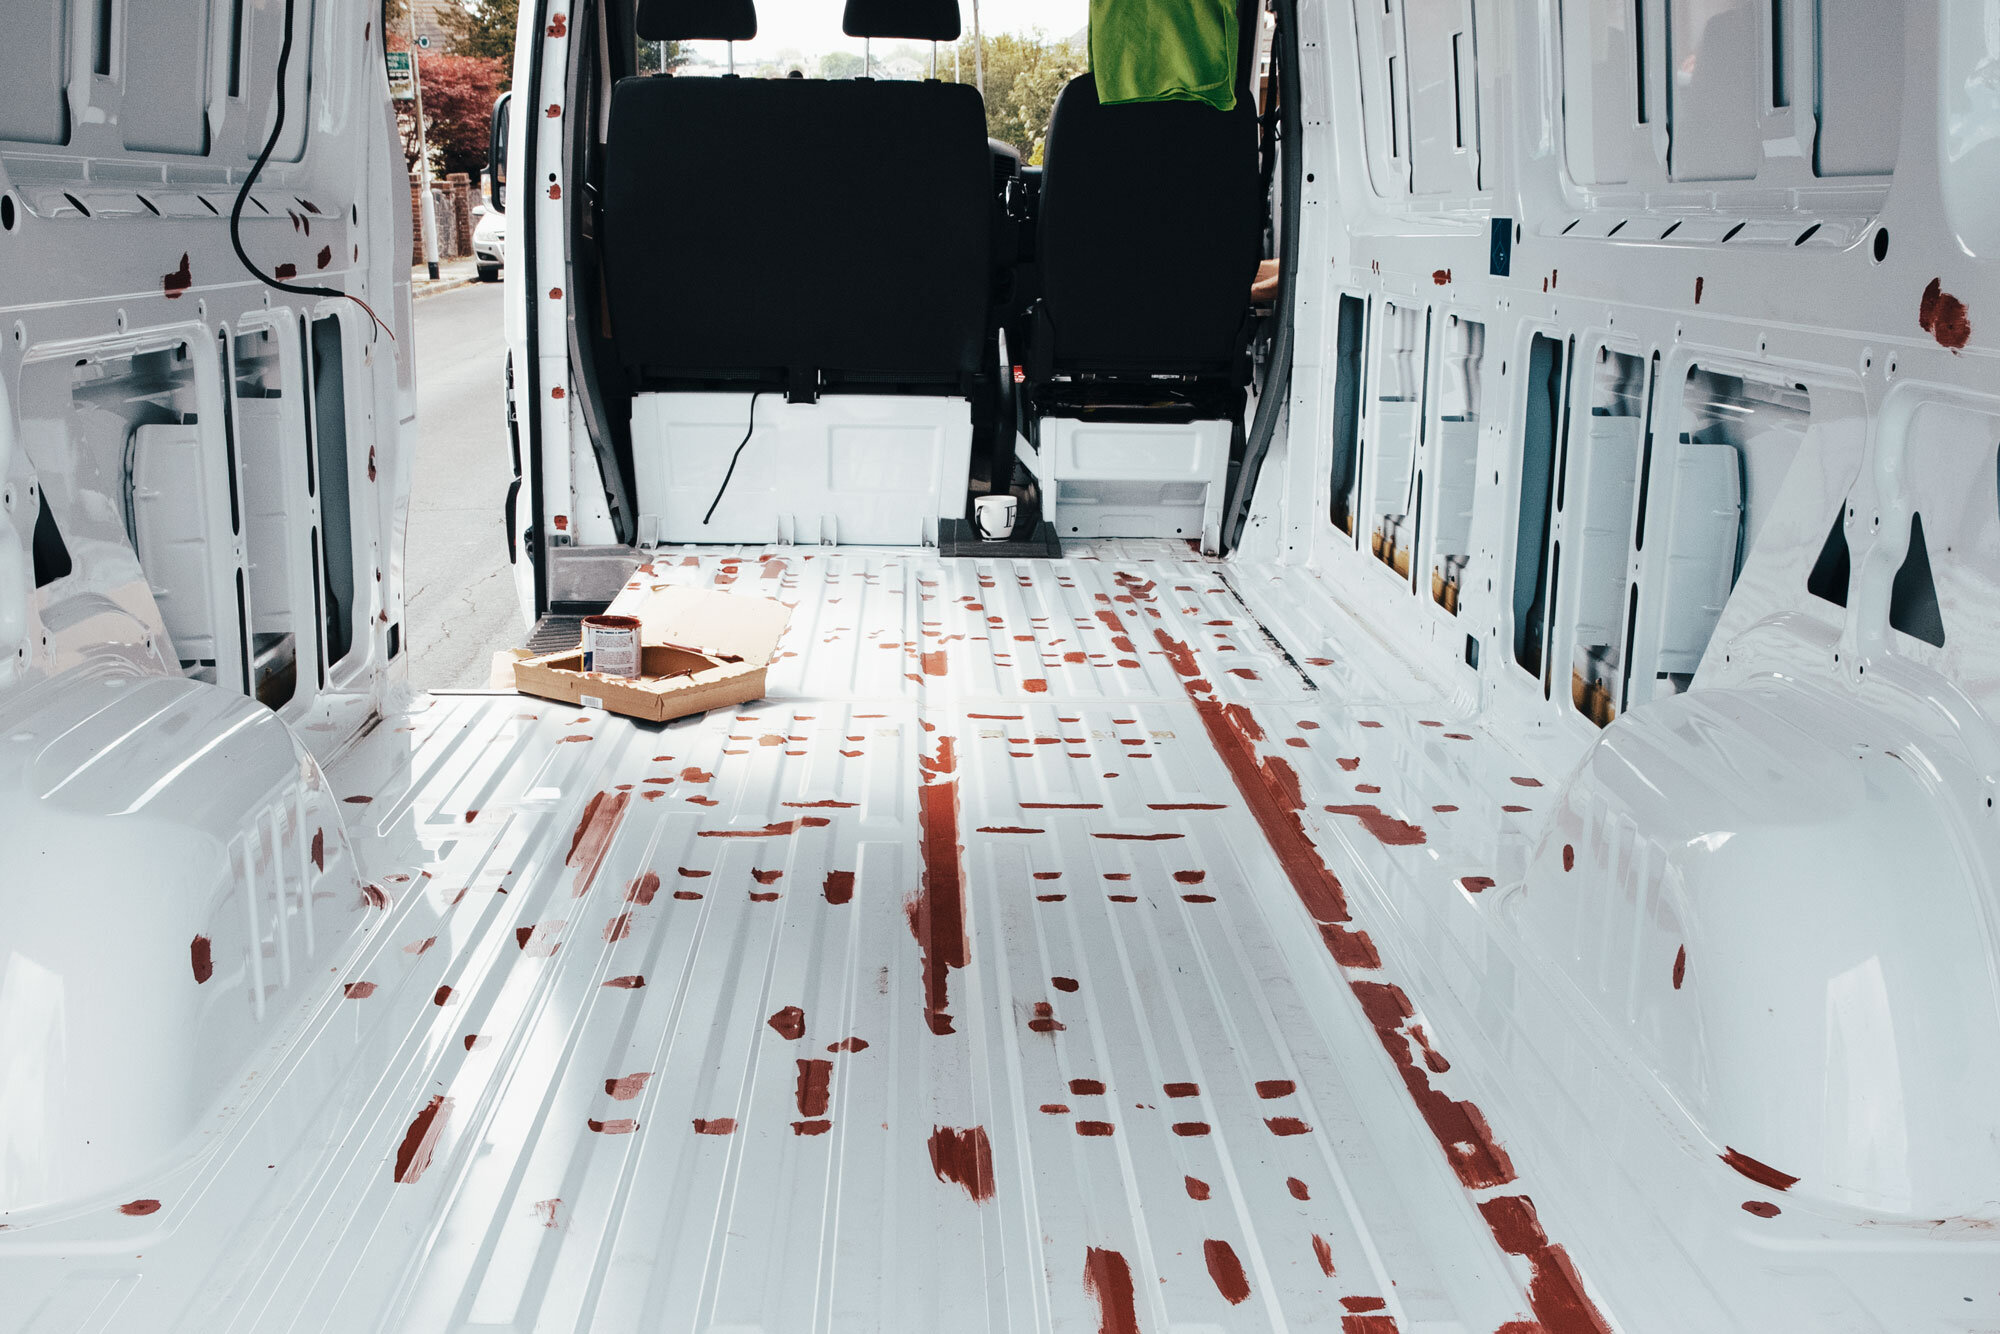
2. Next it was time for the rust treatment. We decided to use Red Oxide to treat the rust patches as it’s a pretty standard solution for this type of rust. We didn’t use a rust converter because we didn’t have huge patches of rust, and so we didn’t think it was necessary. We just needed something to paint over the damaged areas and any bits of exposed metal to prevent further rust from developing. We painted two thin layers of red oxide to these parts of the bodywork, including any screw holes, chipped bits of paint and anywhere that had been worn or scratched. The van ended up looking like it had chicken pox! After that we painted a top coat over the red oxide with Hammerite white metal paint. This was to seal the red oxide and give it an extra layer of protection. I wouldn’t recommend Hammerite because it chips so easily! Even walking over the dry paint a little bit has caused areas to chip, so I’d suggest using a different type of metal paint. We used it because it was easy to get hold of, but I’m sure there are better paints out there.
Painting red oxide onto the interior, including the ceiling and walls
Don’t forget to paint little screw holes along the side of the van
Some problem areas beneath the metal trim at the back of the van
Spotty old van with the red oxide complete
Painting a top coat of metal paint over the red oxide
More white metal paint to protect the red oxide underneath
The end result – the rust treated interior, ready for the next step
Products We Used:
Red Oxide Rust Treatment - https://amzn.to/2Wl1f0Z*
Hammerite White Metal Paint - https://amzn.to/2WmbuT5*
Sound Deadening - https://amzn.to/3dB2PBW*
*Amazon affiliate links


